Unlock radiant skin without breaking the bank by strategically using skin care samples. Discover how these tiny treasures can be your secret weapon for finding effective, affordable essentials and building a personalized routine that delivers visible results.

Ever felt overwhelmed by the sheer number of skincare products out there? It’s totally normal! The world of skincare can seem like a jungle, filled with fancy bottles and big promises. But what if I told you that you can navigate this jungle and find your perfect skin match, all while being super budget-savvy? Yes, it’s true! Skin care samples are like little magical packets of possibility, waiting to be discovered. They’re your golden ticket to trying out new things, understanding what your skin truly loves, and building a fantastic routine without emptying your wallet. Ready to dive into the smart, affordable way to glow? Let’s explore the genius of skincare samples together!
Why Skin Care Samples Are Your Budget-Friendly Best Friend
Think of skincare samples as mini test drives for your face. Instead of committing to a full-sized product that might not agree with your skin, samples offer a low-risk way to see how a product performs over a few uses. This is especially crucial when you’re starting out. Your skin is unique, and what works wonders for one person might cause a breakout for another. Samples allow you to listen to your skin, observe its reactions, and make informed decisions. This “try before you buy” approach is not just smart; it’s a brilliant cost-saving strategy that prevents you from wasting money on products that end up in the back of your cabinet.
The Skin Care Sample Advantage: More Than Just Freebies
The allure of “free” is undeniable, but the benefits of skincare samples go far beyond just saving money. They are powerful tools for:
- Personalized Discovery: Finding products that perfectly suit your skin type (oily, dry, combination, sensitive) and address your specific concerns (acne, aging, dullness).
- Ingredient Exploration: Safely testing out new or potent ingredients like retinol, vitamin C, or hyaluronic acid to see how your skin tolerates them before investing in full sizes.
- Travel-Friendly Solutions: Perfect for packing light and maintaining your routine on the go, without the bulk of large bottles.
- Seasonal Adjustments: Allowing you to switch up your skincare based on the weather – perhaps a lighter moisturizer for summer and a richer one for winter.
- Building Confidence: Successfully finding products that work can significantly boost your confidence in your skincare journey.
Where to Find These Skincare Gems
Scouring the internet and your favorite stores for skincare samples is part of the fun! Here’s where to look:
- Beauty Retailers: Online stores like Sephora, Ulta, and department store websites (think Nordstrom, Cult Beauty) often include free samples with your online orders. Keep an eye out during checkout for sample selection options.
- Brand Websites: Many skincare brands offer sample sizes or discovery kits, either for purchase at a low cost or as a gift with a minimum purchase. This is a great way to try a brand’s core offerings.
- Subscription Boxes: Services like Ipsy, BoxyCharm, or Birchbox deliver a curated selection of beauty products, often including skincare samples and even deluxe-sized items, for a monthly fee.
- In-Store Events & Gifts: Physical stores often give out samples at the counter, especially when new products launch. Keep an eye out for beauty events or gift-with-purchase promotions.
- Loyalty Programs: Some loyalty programs allow you to redeem points for sample sizes or provide exclusive access to sample opportunities.
Your Step-by-Step Guide to Using Skin Care Samples Effectively
Simply receiving samples isn’t enough; you need a strategy to make them work for you. Here’s how to maximize their potential:

<< Click Amazon’s Choice >>
Step 1: Identify Your Skin’s Needs
Before you jump into trying samples, take a moment to understand your skin. What are your main concerns? Are you dealing with dryness, oiliness, occasional breakouts, redness, or early signs of aging? Knowing this will help you choose samples more strategically.
Step 2: Patch Test Diligently
This is the most crucial step to avoid irritation. Before applying a new product to your entire face, test a small amount on an inconspicuous area. A good spot is behind your ear or on your inner forearm. Wait 24-48 hours to check for any redness, itching, or sensitivity. If there’s no reaction, you can proceed to your face.
Step 3: Introduce One Sample at a Time
Resist the urge to try multiple new products simultaneously, especially if they are from different brands or have active ingredients. This makes it impossible to pinpoint which product is causing a positive or negative reaction. Introduce one new sample each week, after completing your patch test.
Step 4: Follow a Consistent Routine
When trying a new product, use it consistently for at least a week (or until the sample is finished). This gives your skin enough time to show how it responds. For example, if you have a sample of a new serum, incorporate it into your morning or evening routine for seven consecutive days.
Step 5: Observe and Document
Pay close attention to how your skin feels and looks after using the sample. Does it feel hydrated? Is it less oily? Did it cause any breakouts or irritation? Keeping a simple journal or notes on your phone can be incredibly helpful. Note the product name, your observations (e.g., “skin felt smoother,” “slight redness”), and the date.
Step 6: Evaluate and Decide
After using the sample consistently, evaluate the results. Did it meet your expectations? Did it address your specific skin concern? If the answer is yes, and your skin reacted well, then congratulations – you’ve found a potential new holy grail! If not, move on to the next carefully chosen sample.
Key Skincare Essentials to Sample First
When you’re starting out, focusing on the fundamental steps of a skincare routine is key. Here are the essential product categories that are perfect for sampling:
Cleansers
A good cleanser is the foundation of any routine, removing impurities without stripping the skin. Sampling different types—like creamy, gel, or foam cleansers—can help you find one that leaves your skin feeling clean and comfortable, not tight or dry.
Moisturizers
Hydration is vital for all skin types. Samples of moisturizers will let you experience their texture (light lotion, rich cream, soothing gel) and see how well they absorb and keep your skin hydrated throughout the day or night. For instance, a lightweight gel moisturizer might be ideal for oily or combination skin, while a ceramide-rich cream could be best for dry or sensitive types. You can learn more about different moisturizer benefits from the American Academy of Dermatology.
Serums
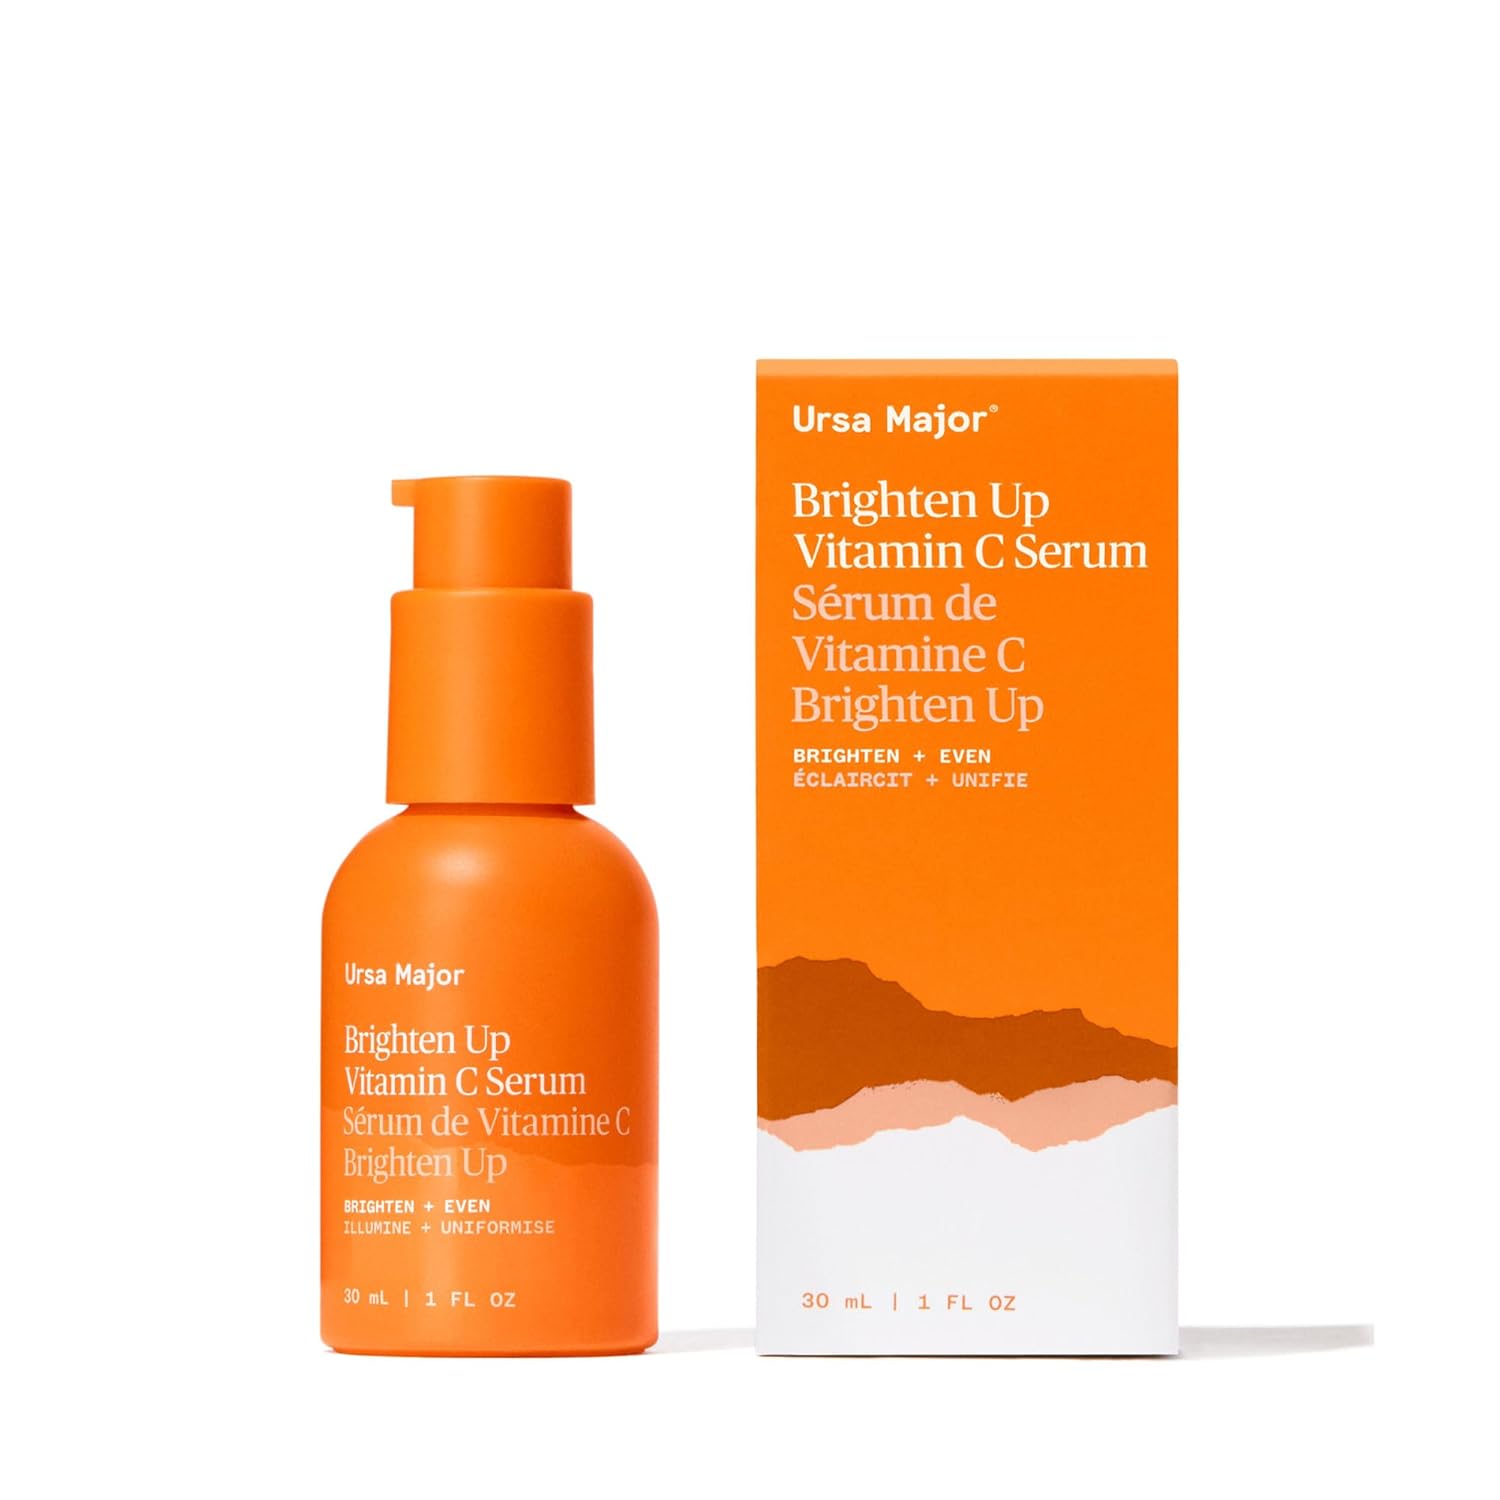
Serums are concentrated treatments targeting specific issues. Sampling allows you to test targeted ingredients. A Vitamin C serum sample can reveal if it brightens your complexion, while a hyaluronic acid serum sample will show you how well it plumps and hydrates. Even a peptide serum sample can give you a glimpse into its potential anti-aging benefits.
Sunscreen
No skincare routine is complete without SPF! With countless formulas, sampling is essential. You might prefer a mineral sunscreen (zinc oxide, titanium dioxide) for sensitive skin, or a chemical sunscreen for a more invisible finish. Finding one you enjoy wearing daily is crucial for protecting your skin from sun damage, a major contributor to premature aging.
The Sample Shuffle: A Smart Way to Build Your Routine
Imagine this as a controlled experiment for your skin. Here’s how you can orchestrate your sample testing:
Week 1: Cleanser Focus
- Use a sample of a gentle cleanser day and night.
- Assess how it feels during washing and how your skin looks afterward.
Week 2: Moisturizer Magic
- If your cleanser is good, add a new moisturizer sample.
- Observe how it complements your cleanser and hydrates your skin.
Week 3: Serum Surprise
- Introduce a serum sample into your routine (e.g., after cleansing, before moisturizing).
- Note any changes in texture, brightness, or irritation.
Week 4: Sunscreen Shield
- Test a new sunscreen to find one that sits well under makeup or feels comfortable on its own.
- Crucially, ensure it doesn’t sting your eyes or leave a white cast.
By the end of this, you’ll have a much clearer idea of which product categories and specific formulations work best for your skin!
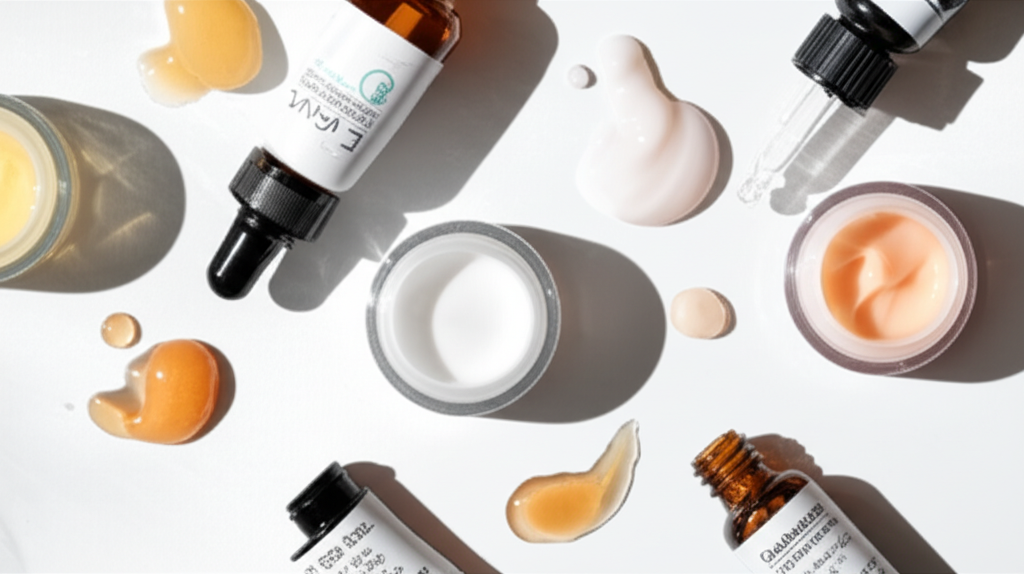
Understanding Sample Sizes and Usage
The quantity of product in a sample can vary significantly. Some are tiny foil packets that might only yield one or two uses, while others are small tubes or jars that can last for several days. Here’s a general guide:
| Sample Type | Typical Quantity | Expected Uses | Best For |
|---|---|---|---|
| Foil Packet (Single Use) | 0.03 – 0.1 oz / 1 – 3 ml | 1-2 applications | Quick ingredient tests, travel emergencies |
| Small Vial/Tube | 0.1 – 0.3 oz / 3 – 10 ml | 3-7 applications | Short-term routine adjustments, testing actives |
| Mini Jar/Bottle | 0.3 – 1 oz / 10 – 30 ml | 1-2 weeks of use | Thorough routine testing, longer travel |
Always follow the usage instructions on the sample packaging, if available. For serums and creams, a pea-sized amount is usually sufficient for the entire face. For cleansers, use enough to create a gentle lather or to adequately cover your face.
When a Sample Isn’t Enough: Choosing Full-Size Products
Once you’ve found a winner through sampling, you’re ready to invest in the full-size product. Consider these factors:
- Full Ingredient List: Ensure there are no hidden irritants or ingredients you need to avoid. Reputable brands will always have their full ingredient list readily available, often on their FDA-regulated product labeling.
- Packaging: For products with active ingredients (like Vitamin C) or those prone to contamination (like creams opened with fingers), look for airless pumps or dark glass packaging to maintain efficacy.
- Reviews: Read reviews from people with similar skin types and concerns to get a broader perspective.
- Return Policy: While samples reduce risk, it’s always good to know the return policy of the retailer in case the full-size product doesn’t perform as expected or causes an unforeseen reaction.
The Cost-Saving Table: Sample vs. Full Size
Let’s look at a hypothetical example to illustrate the financial wisdom of sampling:
| Product Type | Typical Sample Cost | Full-Size Product Cost | Potential Savings by Sampling First |
|---|---|---|---|
| Moisturizer | $0-$5 (often free with purchase or low cost) | $25 – $75+ | Up to ~$70+ |
| Serum | $0-$8 (often free with purchase or low cost) | $30 – $100+ | Up to ~$92+ |
| Retinol Cream | $0-$10 (often free with purchase or low cost) | $40 – $120+ | Up to ~$110+ |
As you can see, the potential savings are substantial. Instead of buying multiple full-size products that might not work, you can use small sample costs (or just your time and effort) to identify your perfect lineup.
Common Beginner Skincare Sample Questions
Q1: How long should I use a skincare sample before deciding if it works?
For most products, aim for at least a week of consistent use. This allows your skin time to show its reaction to the ingredients and formulation. For potent products like retinoids or strong acids, follow any specific instructions on the sample or consult a dermatologist.
Q2: Can I use samples if I have sensitive skin?
Absolutely! In fact, samples are even more crucial for sensitive skin. Always perform a patch test (behind the ear or on the inner arm) for 24-48 hours before applying any new product to your face. Look for samples targeted towards sensitive or calming skin types.
Q3: What if I get a sample of something I don’t need?
If a sample is for a concern you don’t have (e.g., an anti-aging cream when you’re focused on acne), you can still use it to test for general skin compatibility (hydration, texture, irritation). Alternatively, you can often pass it along to a friend or family member who might benefit.
Q4: Can I mix samples from different brands?
It’s best to avoid mixing samples from different brands, especially those with active ingredients, until you know how your skin reacts to each individually. Introduce one new product at a time into your routine.
Q5: My sample packet is tiny, how do I use it effectively?
For very small, single-use packets, a little goes a long way. Carefully open the packet and dispense the product onto your fingertip. If it’s a serum or cream, a small drop is usually enough for your entire face. If it feels too little, you can potentially use it just on a specific area you want to treat.
Q6: Are there any skincare products that are NOT good to sample?
While most products are suitable for sampling, be extra cautious with high-strength exfoliating acids (like high percentage AHAs/BHAs) orprescription-strength retinoids, unless specifically instructed. Always follow product directions and prioritize patch testing. Products that are already part of your stable, effective routine don’t need sampling.
Conclusion: Your Path to Smarter, Glowing Skin Starts Here
Embarking on a skincare journey doesn’t require a massive budget or expert knowledge. By embracing the power of skin care samples, you can demystify product choices, discover what truly makes your skin happy, and build a routine that’s both effective and affordable. Think of each sample as a stepping stone towards healthier, more radiant skin. You’re not just trying products; you’re learning about your skin’s unique language and responding with kindness and care. So, start collecting those tiny treasures, patch test diligently, and enjoy the rewarding process of finding your skin’s perfect match. Your journey to glowing, confident skin is well within reach, one sample at a time!